

Photo care · Visual guide
How to Store Old Photos So They Don't Fade, Yellow or Stick
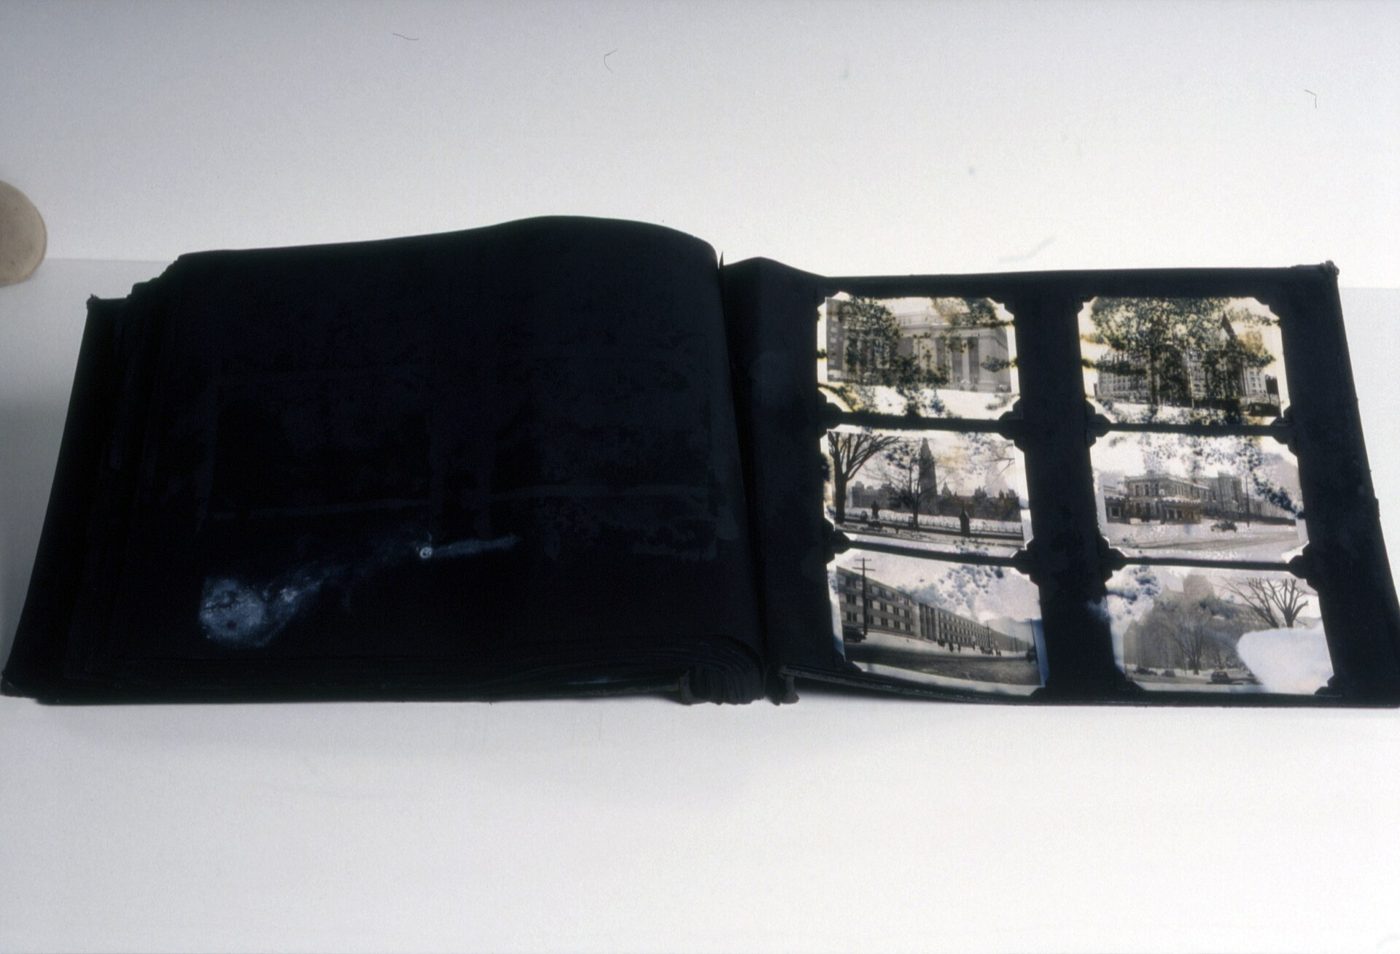
Most of the damaged photos people send me weren't hurt in one bad moment. They were hurt slowly, by where they were kept. A box in the attic, a sticky album from the 1970s, a rubber band around a stack of school pictures. Give it twenty or thirty years and you get fading, yellowing, curling and photos glued to each other.
I spent many years in magazine and newspaper printing, working the process camera and the darkroom, and I learned early that photographs are more delicate than they look. The good news: storing old photos the right way is simple and doesn't cost much. Here's how to store old photos so your family can still enjoy them years from now.
What actually ruins old photos
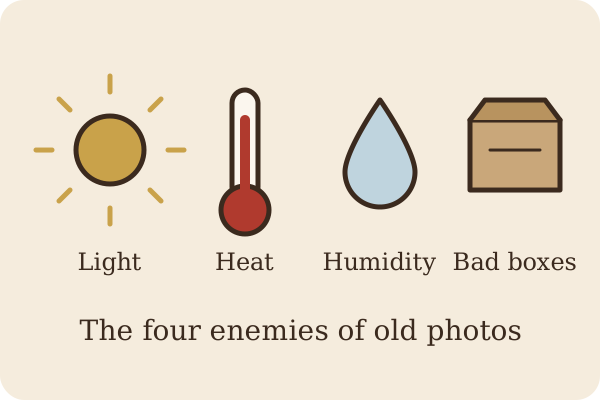
Old photos have four main enemies: heat, humidity, light and bad storage materials. Heat speeds up the chemical aging that makes prints fade and turn yellow or brown. Humidity makes the image layer soft and sticky, invites mold, and lets photos stick to glass, plastic and each other. Light fades color and black-and-white images alike. And cheap boxes, plastics, tape and glue slowly release chemicals that stain and yellow the very photos they're holding. (For the chemistry behind it, see why old photos turn yellow, red or brown.)
The Library of Congress says it plainly:
“A good storage environment is arguably the most important preservation measure for photographic materials.”Library of Congress, Care, Handling, and Storage of Photographs, www.loc.gov/preservation/care/photo.html
Storage habits that slowly damage photos
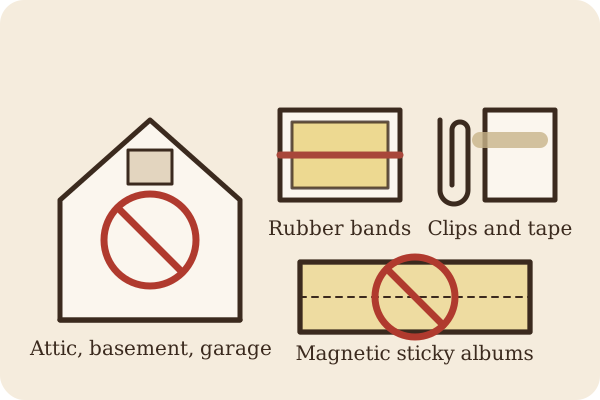
- Attics, basements and garages. Attics bake in summer, basements are damp, and garages get both, plus big swings between seasons.
- Magnetic “sticky” albums. The ones with a tacky page and a clear plastic sheet over the top. Over time the adhesive yellows, the plastic gives off fumes, and the photos become nearly impossible to lift off without tearing.
- Rubber bands and paper clips. Rubber bands dry out, stick and stain; paper clips dent, scratch and rust.
- Tape, glue and sticky notes. Tape yellows and its adhesive soaks into the photo. Glue stains show through from the back.
- Soft vinyl (PVC) sleeves and pages. That “new plastic” smell is the problem. PVC breaks down and can damage the photos inside.
- Shoeboxes and ordinary cardboard. Regular cardboard and paper are acidic and get more so with age, which helps turn photos yellow.
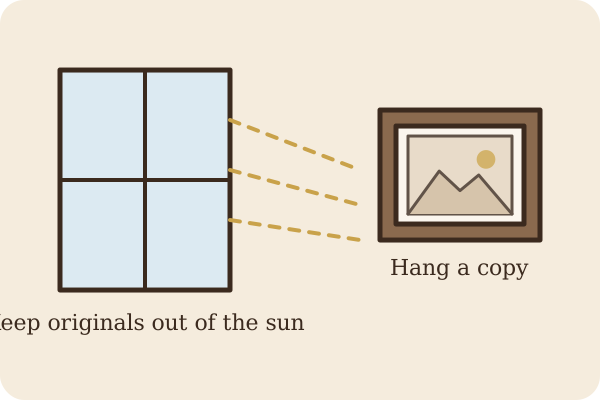
- Framing originals in sunlight. A favorite photo hung across from a sunny window can fade noticeably in just a few years.
- Writing on the back with a ballpoint or marker. Pen ink can press through, smear, or bleed into the next photo in the stack.
The Library of Congress names several of these directly:
“Do not use paper clips, rubber bands, or other mechanical fasteners to mark or organize prints.”Library of Congress, www.loc.gov/preservation/care/photo.html
“Do not use self-adhesive tape, sticky notes, glue, or other adhesives on photographs.”Library of Congress, www.loc.gov/preservation/care/photo.html
“Avoid albums with colored, "magnetic," or sticky self-adhesive pages.”Library of Congress, www.loc.gov/preservation/care/photo.html
The National Archives also lists magnetic albums and polyvinyl chloride (PVC) plastics among the materials to avoid.
How to store old family photos the right way
Pick a cool, dry, dark spot inside your living space
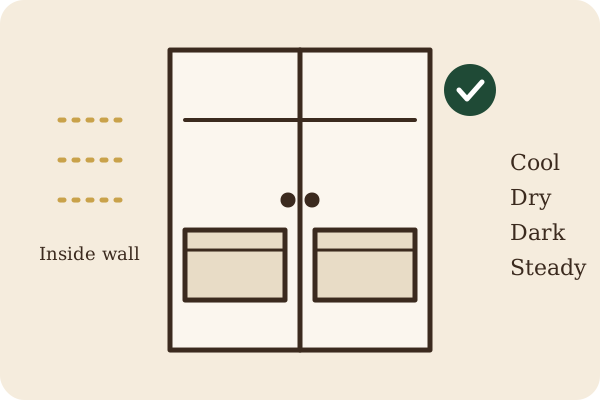
The best place in most homes is an interior closet on a main floor: not against an outside wall, away from heat vents, pipes and windows, and off the floor in case of a leak.
“Avoid storage in attics; basements; in close proximity to vents, fireplaces and radiators; along exterior walls; or other locations with high risk for condensation, water leaks, and extreme environmental fluctuations.”Library of Congress, www.loc.gov/preservation/care/photo.html
If you want numbers: the Library of Congress recommends a relatively dry 30–50% relative humidity, a cool 70°F or below, and a stable environment. The National Archives gives outer limits for home storage: keep the temperature below 75°F and relative humidity below 65% to prevent mold, and avoid very dry air below 15%, which can make things brittle. Steady matters as much as the exact number; big swings are what cause curling and cracking.
“The lower the temperature the longer your items will last, because cooler temperatures slow the rate of chemical decay and reduce insect activity.”National Archives, Storing Family Papers and Photographs, www.archives.gov/preservation/family-archives/storing.html
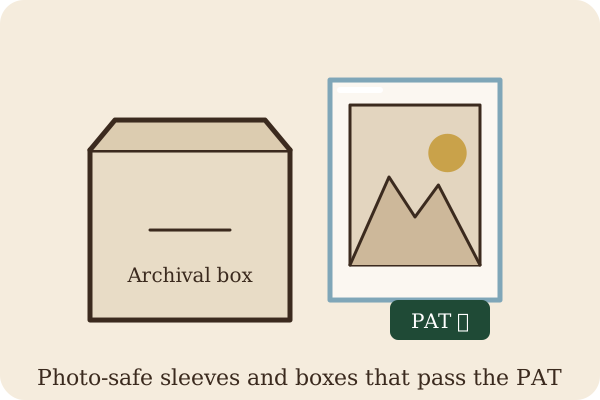
Use photo-safe sleeves, envelopes and boxes
Look for storage materials labeled archival and, most importantly, “passes the PAT.” The PAT is the Photographic Activity Test, the standard test for whether a material is safe to touch photos. The Library of Congress explains why it matters:
“Materials that do not meet these specifications can cause damage such as fading, yellowing, silver mirroring, and embrittlement.”Library of Congress, www.loc.gov/preservation/care/photo.html
- Sleeves: the Library of Congress lists uncoated polyester, polyethylene and polypropylene as suitable plastics. Skip PVC and any plastic you can't identify.
- Paper envelopes and folders: photo-safe paper is easy to label in pencil and keeps light out.
- Boxes: a sturdy archival photo box that passes the PAT, instead of a shoebox.
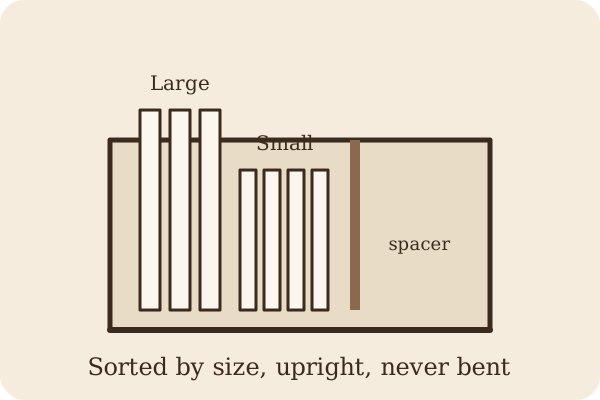
How to store old photos in boxes
- Sort by size. Keep small prints with small prints and large with large, so heavy photos don't press dents into little ones.
- Flat or upright, never bent. The National Archives says boxes should be “big enough for the originals to lay flat or upright without folding or bending”. (National Archives) Large or brittle prints are best stored flat.
- Don't cram them in, and don't let them flop. If an upright box isn't full, add a piece of stiff board as a spacer.
- Keep negatives separate from prints, in their own sleeves and box.
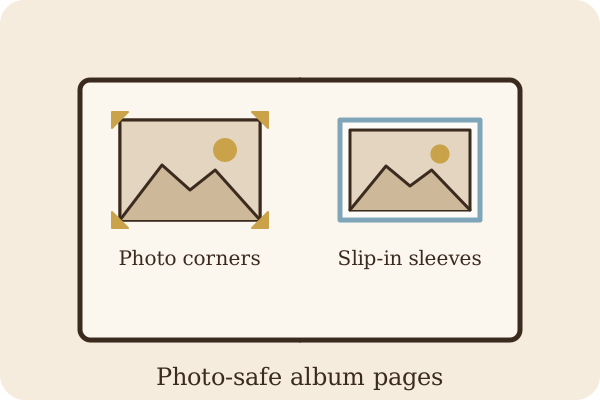
Albums: choose photo-safe pages
Albums are a lovely way to keep family photos, as long as the pages are photo-safe. Hold prints in place with photo corners or slip-in sleeves instead of glue or sticky pages, and don't overstuff the album. If your photos are already stuck in an old magnetic album, don't force them out. Scan the pages as they are first.
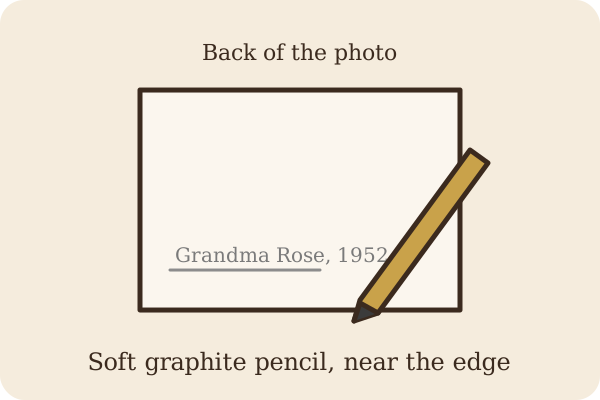
Label gently
Names and dates are priceless to the next generation, so do write them down, just not with a pen. The Library of Congress advises: “If absolutely necessary, limit markings and write on the back and near the edge with a soft graphite pencil.” (Library of Congress) Better still, write on the sleeve or envelope instead of the photo.
Display copies, not originals
“Exposure to all light (visible and ultraviolet) can cause fading, darkening, and other changes. The best protection from light is to display copies of the originals and keep the originals in a box.”National Archives, Displaying Family Papers and Photographs, www.archives.gov/preservation/family-archives/displaying.html
If you do frame an original, keep it out of direct sun and use a mat so the photo doesn't touch the glass. (If one is already stuck to the glass, read my article on how to clean old photos before you try anything.)
Scan them, and keep copies in more than one place
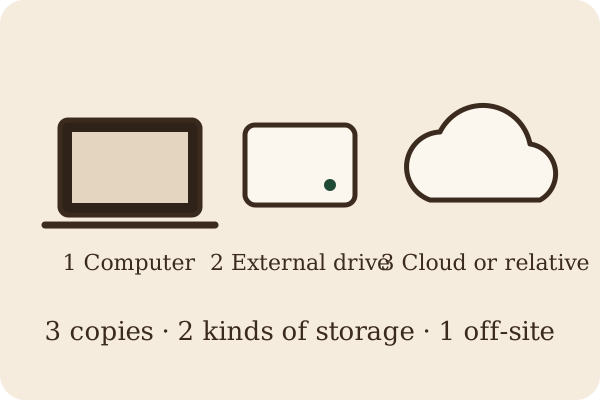
The best way to store old photos long term is to have them in two forms: the original, stored safely, and a good digital copy. Scan at a high resolution, name the files with who, where and when, and share copies with family. Then keep the original anyway:
“Keep your originals after you digitize them, because digital files have their own preservation risks and can easily be lost.”National Archives, Digitizing Family Papers and Photographs, www.archives.gov/preservation/family-archives/digitizing.html
The National Archives recommends the 3-2-1 rule for backups: “Three copies, stored on two different media, and one copy located off-site.” (National Archives) In plain terms: one copy on your computer, one on an external drive, and one in the cloud or at a relative's house.

When storage isn't enough
Good storage stops damage from getting worse, but it can't undo fading, yellowing, stains or tears that are already there. That's where restoration comes in. If you have photos that have already faded or yellowed, start with a good scan or a clear phone picture. I can restore that copy, bring back the faces and color, and you'll get a fresh digital file that can be printed and shared, while the original stays safely in its box.
When you're ready, send me your photo through my Etsy shop. I restore photos with AI-assisted tools, check every face against your original myself, and a digital family photo album is included with every order.
Sources
- Library of Congress, Care, Handling, and Storage of Photographs
- National Archives, Storing Family Papers and Photographs
- National Archives, Displaying Family Papers and Photographs
- National Archives, Digitizing Family Papers and Photographs
← Back to HeirloomPhotoCare home · Read: How to Clean Old Photos (and What Not to Do)